If you’re serious about improving your makeup artistry, learning how to draw lip shape on latex is a powerful skill that can elevate your practice sessions to the next level. Realistic lip drawing on silicone or latex pads helps you refine symmetry, develop a steady hand, and truly understand lip anatomy – long before applying products to a real face.
While watching tutorials and using quality makeup is helpful, nothing replaces hands-on repetition. Just like any artist perfects their craft through sketching, aspiring beauty professionals benefit greatly from mastering features like lips on synthetic practice skin.
Introduction: Elevate Your Makeup Game with Realistic Practice
The secret to truly flawless makeup application isn’t just about owning the most expensive products or watching countless tutorials online. While those certainly help, the real game-changer is consistent, skilled practice. Think about it: an artist doesn’t just pick up a brush and create a masterpiece. They practice lines, shadows, and forms repeatedly. For aspiring makeup artists, or even just beauty enthusiasts looking to elevate their personal skills, that practice often comes through the invaluable tool of makeup practice faces or synthetic skin for makeup, commonly known as latex or silicone practice pads.
Mastering how to draw lip shape on latex is a pivotal step. This overlooked technique is a game-changer for women looking to refine their beauty skills or perhaps even pursue makeup artistry professionally. Many of us face common challenges: uneven lines, disproportionate features, or simply lacking the confidence to try bolder looks. This guide offers practical solutions to these very challenges, helping you develop a steady hand and a keen eye for detail when drawing facial features on silicone.
Beyond the Basics: Why Your Latex Practice Needs Perfect Lips
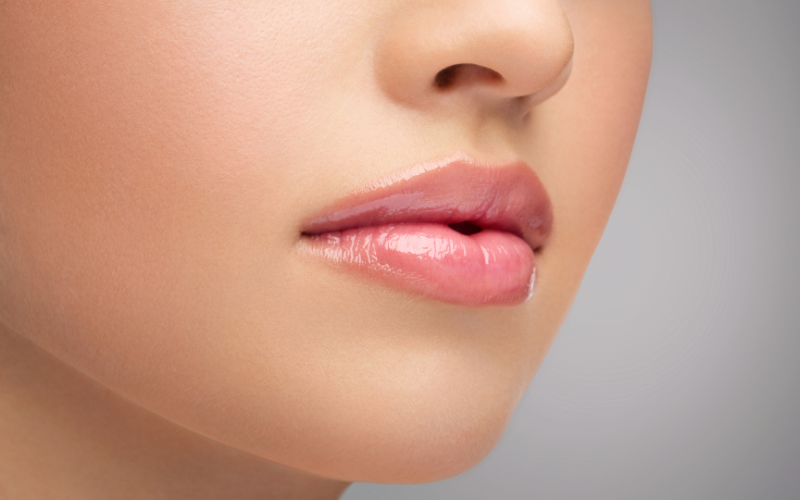
When we think about a face, lips hold an incredible power. They are central to expression, framing our smiles, sighs, and passions. In the world of makeup, lips are often the focal point of a look, conveying mood from understated elegance to dramatic flair.
This is precisely why the ability to accurately draw lip shape on latex or silicone is so vital. How accurately you can translate lip anatomy drawing onto your practice pad directly impacts your real-life application, whether you are applying a simple lipstick, a precise liner, or even considering advanced techniques like lip filler drawing practice for a realistic makeup practice palette.
To begin your journey, you will need the right materials. Opt for a high-quality silicone practice pad, as it mimics real skin texture more effectively than traditional latex. For drawing, fine-tipped art pens or pencils designed for art on silicone are ideal.
Avoid regular ballpoint pens, which can stain. You will also want some gentle makeup wipes or rubbing alcohol for cleaning your practice surface. Setting up your practice station involves good lighting and a sturdy, clean surface, allowing you to focus completely on creating realistic lips.
Anatomy of a Perfect Pout: Understanding Lip Structure for Drawing
Before you even begin to draw, understanding basic lip anatomy is crucial. Just like understanding bone structure helps an artist draw a realistic human body, knowing the components of the lips will transform your drawing from approximations to precise representations.
Key anatomical features to grasp include: the Cupid’s bow (the double curve of the upper lip’s center), the philtrum (the vertical groove between the base of the nose and the Cupid’s bow), the vermillion border (the defined edge where the lip color meets the skin), and the labial commissures (the corners of the mouth where the upper and lower lips meet). Why is understanding these features so important? Because they are the subtle indicators of realistic, natural-looking lips. When you are doing makeup artist training tools practice, recognizing these points helps you create a true-to-life lip contouring technique.
Beyond these foundational elements, also be mindful of common lip shapes: full, thin, wide, narrow, heart-shaped, and even downturned. Each has unique characteristics, and a skilled artist can adapt their drawing and makeup application to enhance or balance these natural forms. This knowledge is part of mastering advanced makeup skills, even at a DIY beauty practice level.
Step-by-Step Guide: Drawing Realistic Lip Shapes on Latex
Let’s get down to the practical steps of how to draw lip shape on latex. Remember, patience and light strokes are your best friends.
Preparation: Cleaning Your Latex Canvas
Always start with a clean practice surface. Use a gentle wipe or a cotton pad with a small amount of rubbing alcohol to remove any previous marks or oils. Ensure it is completely dry before you begin.
Step 1: The Basic Outline Finding Your Center
Begin by establishing the central axis. Lightly draw a vertical guideline down the center of where the lips will be. Then, draw a horizontal guideline, marking the desired width of the mouth. This cross will be your anchor for symmetry and proportion, a fundamental beginner makeup tip for drawing facial features on silicone.
Step 2: Defining the Cupid’s Bow and Philtrum
The Cupid’s bow is your starting point for the upper lip. Mark two small points on the horizontal line, slightly inward from the center. From these, sketch a gentle curve upwards, creating the distinctive “”M”” shape. Then, connect the two points of the Cupid’s bow to the base of your imaginary philtrum, a subtle but crucial element for natural projection.
Step 3: Sketching the Upper Lip Curves
From the outer edges of your Cupid’s bow, gently sweep lines outwards, following the horizontal guideline, and then curve downwards to meet the approximated corners of the mouth. The upper lip generally has two distinct, subtle curves that define its shape. Focus on a natural flow, avoiding harsh angles for creating realistic lips.
Step 4: Crafting the Lower Lip Arc
The lower lip is typically fuller and has a softer, broader arc. From the corners of the mouth, draw a gentle, upward-curving line to meet at the vertical center line. Ensure this arc balances aesthetically with your upper lip, creating a natural fullness.
Step 5: Connecting the Corners (Commissures)
Carefully connect the ends of your upper and lower lip outlines at the corners. The commissures should meet cleanly, avoiding an exaggerated upward or downward turn unless that’s your specific intention for your makeup practice face. Smooth transitions here are key to a polished look.
Step 6: Adding Dimension and Realism (Shading and Details)
This is where your lip anatomy drawing truly comes to life. Use light pressure to add subtle shading just inside the vermillion border, deepening it slightly at the corners and under the fullest part of the lower lip. This creates the illusion of volume. You can also add very faint, vertical lines to hint at lip texture, but use these sparingly to avoid a ‘cracked’ look.
Pro Tips & Common Pitfalls to Avoid
Tip 1: Practice Symmetry
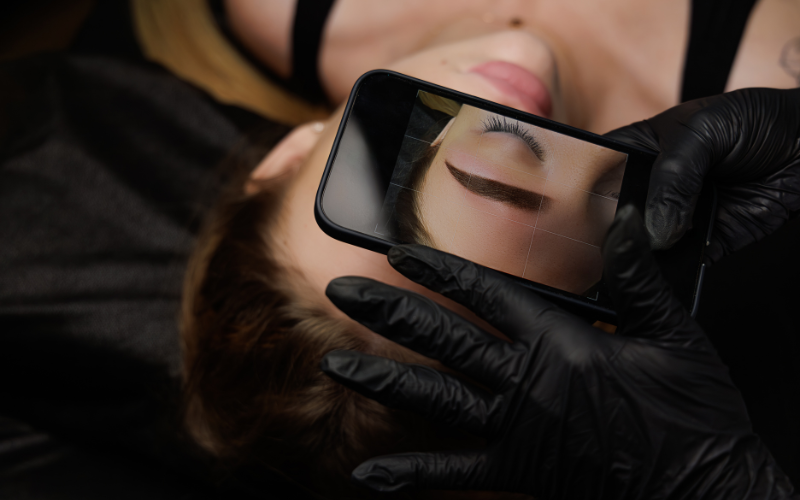
Use the mirror technique: periodically hold your latex up to a mirror or even digitally flip an image of your drawing. Our brains tend to correct for imbalances, but a mirror reveals them starkly. This helps improve your cosmetic symmetry over time.
Tip 2: Vary Your Shapes
Do not just draw one archetypal lip! Experiment with different common lip shapes: thin, full, wide, narrow, heart-shaped. This expands your visual library for realistic makeup practice.
Tip 3: The Right Tools Matter
Invest in quality, fine-tipped pens or pencils that are designed for use on silicone or latex. They glide smoothly and clean off easily. Keep some rubbing alcohol handy for corrections.
Tip 4: Don’t Press Too Hard
Heavy pressure can indent or damage your silicone practice pad. Use light, feathery strokes, building up definition gradually. This also allows for easier corrections.
Pitfall 1: Over-Symmetry
Real lips are not perfectly symmetrical. A slight natural variation can make your drawing look more authentic. Aim for balanced, not identical, sides.
Pitfall 2: Flatness
Failing to add shading and highlights results in a two-dimensional drawing. Remember to use subtle shifts in tone to give your lips volume and depth.
Pitfall 3: Cartoonish Lines
Avoid harsh, thick outlines. Lips have soft, blended edges. Focus on subtle definition rather than strong demarcation. This applies to beginner makeup tips as well.
Pitfall 4: Rushing the Process
Artistry takes time. Do not rush your drawing. Each stroke builds on the last, and patience will yield far better results when learning how to draw lip shape on latex effectively.
Taking Your Practice Further: Beyond Basic Lip Shapes
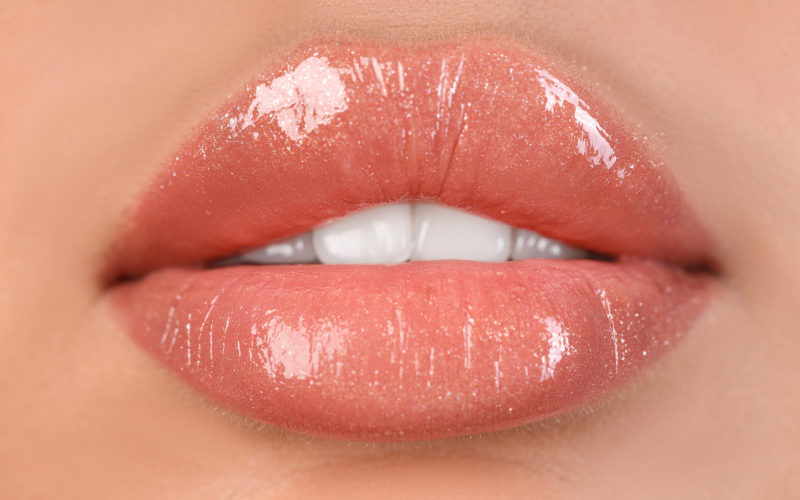
Once you are confident in drawing foundational lip shapes, the canvas of possibilities expands. Begin practicing different makeup lip looks: experiment with ombré effects, the high shine of glossy lips, or the velvety finish of matte applications.
Challenge yourself to integrate these lips with other facial features on your makeup practice face, understanding how the mouth area influences expression and emotion.
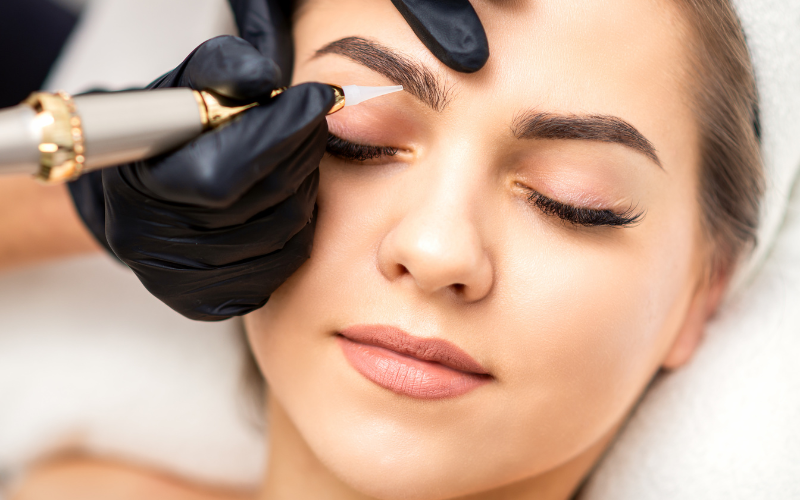
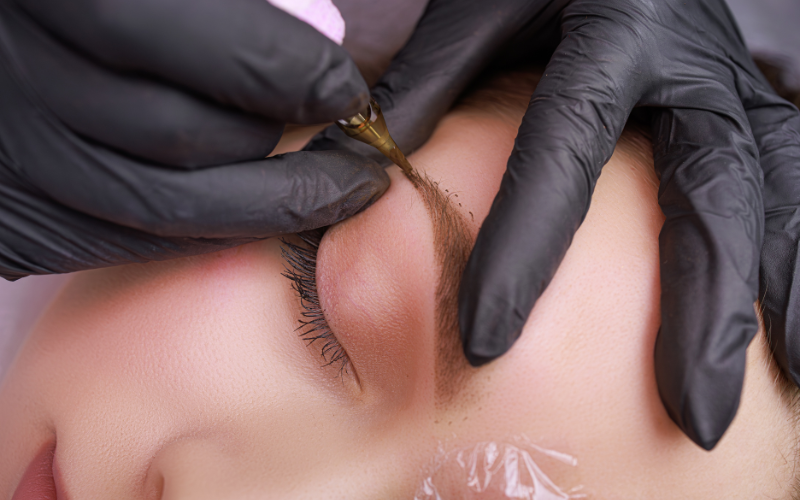
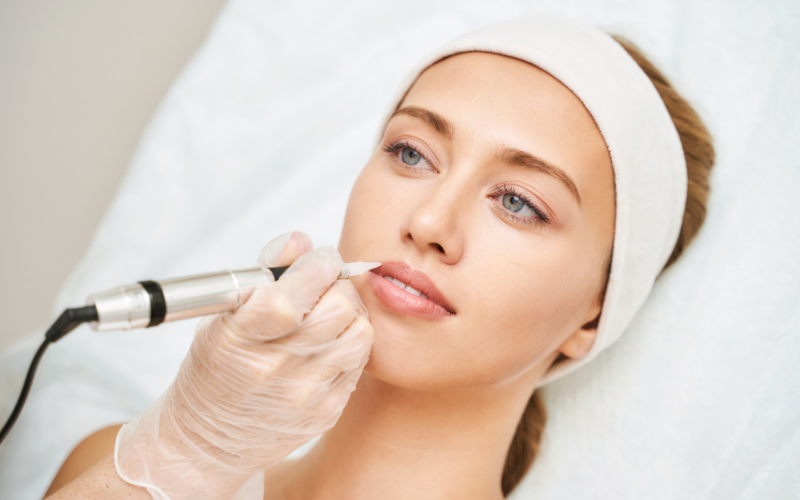
If you’re working toward real-world application or even considering offering beauty services yourself, exploring what professional artists offer can be incredibly insightful. You can take inspiration from premium lip beauty services like lip tinting, lip blush tattoo, and semi-permanent makeup offered by experienced specialists at Hivivi — a trusted name in the PMU industry.
This holistic approach prepares you for real-world makeup application, providing advanced makeup skills and practical experience in a controlled environment. The continuous cycle of learning and applying is how you truly master beauty artistry, evolving your DIY beauty practice into sophisticated techniques fit for any beauty school at home program.
Conclusion: Empower Your Inner Makeup Artist

The journey to mastering makeup, whether for personal enjoyment or professional aspiration. Learning how to draw lip shape on latex is a powerful step in that journey, providing a safe space to refine your hand, understand facial anatomy, and build confidence before you even touch a real face. Embrace the learning process, do not be afraid of mistakes (they are just learning opportunities!), and remember that every line you draw is a step towards empowering your inner makeup artist and enhancing your overall self-care and beauty confidence.